 info@unicomposite.com


Introduction
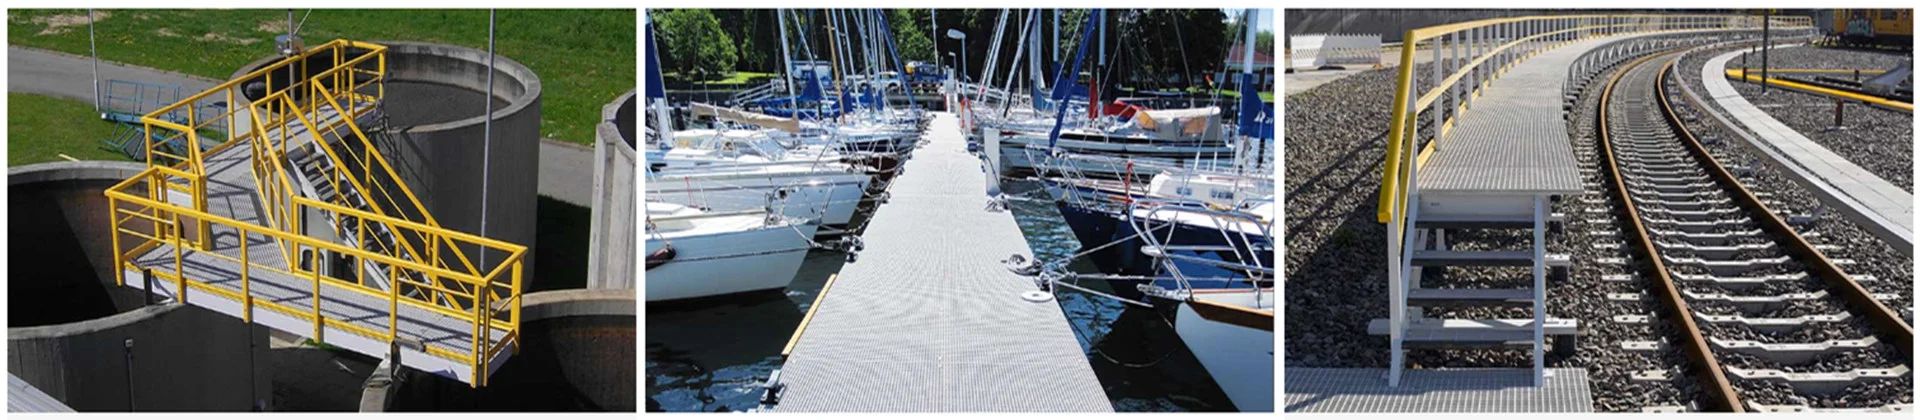
Fiberglass‑reinforced plastic (FRP) grating is rapidly replacing steel for industrial floors because it won’t rust, needs little upkeep, and weighs 75 % less. That matters when downtime is measured in thousands of dollars per hour. As an ISO‑certified pultrusion manufacturer with its own factory, Unicomposite supports project teams from design through delivery, supplying both standard and custom FRP profiles to power utilities, chemical plants, OEMs, and more. In this guide you’ll learn how to install FRP grating for industrial floors quickly without sacrificing safety or code compliance, drawing on field lessons from Unicomposite engineers and installers.

how to install frp grating for industrial floors
Planning & Design Considerations
Assess Load Requirements and Operating Environment
Before ordering a single panel, verify the floor’s live loads (people), uniform loads (equipment), and any point loads (tool chests, pipe racks). A 2024 survey of 112 U.S. facilities found 42 % of premature grating failures traced back to underestimated loads. Acidic wash‑down areas, high‑heat curing ovens, or electro‑static zones all influence the resin you choose.
Select the Right FRP Grating Type & Resin System
Molded grating excels in multidirectional strength and slip resistance.
Pultruded grating delivers higher span capability along the load‑bar axis.
Vinyl‑ester resins handle harsh chemicals; fire‑retardant polyester meets ASTM E‑84 Class 1. A coarse quartz grit surface boosts the coefficient of friction by up to 30 % on wet floors (internal Unicomposite test data).
Engage Engineering Support for Custom Layouts
Early collaboration with a supplier like Unicomposite allows you to send CAD drawings, receive optimized panel maps, and cut shipping costs by up to 18 % thanks to factory pre‑cutting. As one plant engineer put it, “We saved two days of shutdown just by letting Unicomposite plan our clip spacing.”
Pre‑Installation Site Preparation
Verify Substrate Integrity and Levelness
Concrete must cure at least 28 days and be free of cracks wider than 3 mm. A 2 % slope toward drains prevents ponding without destabilizing forklifts.
Gather Tools, Fasteners, and Safety Gear
Non‑sparking fiberglass‑handled tools avoid galvanic corrosion. Stock:
Saddle clips or M‑clips with stainless or FRP bolts
Torque wrench (tighten to 8–12 N·m)
Cut‑resistant gloves, safety glasses, respirators for fine dust
Pre‑Fit Panels and Label the Layout
Dry‑fit every panel, leaving a 6 mm thermal expansion gap on all edges. Use paint pens to mark panel orientation so crews can stage a continuous install instead of stopping to flip pieces.
Statistic: Plants that dry‑fit and label panels reported 35 % less rework in a 2023 maintenance benchmarking study.
Step‑by‑Step Installation Process
Position and Align the First Panel
Snap chalk reference lines at 90 ° to structural beams. Lower the first panel so its load bars run perpendicular to supports. One installer’s rule of thumb: “If I can lift one corner alone, I’m handling FRP correctly—keep it square and stress‑free.”
Secure Grating with Approved Clips or Bolts
Saddle clips clamp two bearing bars to a support; use every 450 mm.
M‑clips lock adjacent panels together across a common support.
Tighten all hardware in a star pattern to avoid racking.
Stagger Joints and Maintain Consistent Gaps
Offset panel seams row‑to‑row by at least one bearing bar. That prevents line‑load failures and eliminates toe‑catch trip points.
Conduct Mid‑Project Quality Checks
After every 20 m², inspectors verify torque and gap spacing. An internal Unicomposite study found projects using mid‑install audits cut punch‑list items by 35 %.
Post‑Installation Inspection & Testing
Load Testing and Slip‑Resistance Validation
Proof‑load 10 % of panels to 150 % of design load per ASTM F3059. Measure the wet static coefficient of friction; aim for ≥ 0.6 to meet OSHA walking‑surface guidance. Record readings in the turnover dossier.
Document the Install for Compliance Audits
Include: material certifications, torque logs, photo evidence, and the signed maintenance plan. Plants that keep full digital records see 40 % faster insurance audits, according to a 2022 risk‑management report.
Maintenance & Lifecycle Optimization
Establish Routine Cleaning and Inspection Schedule
Quarterly: Low‑pressure wash with neutral pH detergent.
Annually: Re‑torque clips and inspect UV topcoat.
Repair or Replace Damaged Panels Efficiently
Hairline cracks at cutouts can be core‑drilled and filled with resin‑rich plugs. For span‑length delamination, swap the entire panel; two technicians can replace a 1 m × 4 m FRP section in under 25 minutes.
Case Study: 10‑Year Performance in a Wastewater Plant
A Midwest facility replaced corroded steel walkways with pultruded FRP grating. Over a decade, they logged 22 % lower maintenance spend and zero slip incidents, due in part to Unicomposite’s chlorine‑resistant vinyl‑ester resin.
Conclusion
Installing FRP grating the right way—from load analysis through documented inspection—delivers safer walkways, lighter structures, and lower life‑cycle costs. Need project‑specific layouts or bulk pricing? Contact Unicomposite’s engineering team today and move your project from concept to commissioning without delays.
Frequently Asked Questions
Q1. How long does FRP grating last in a chemical plant?
Most installations exceed 20 years with routine cleaning and clip torque checks; resin choice and UV topcoat quality are the biggest lifespan factors.
Q2. Can FRP grating be used under forklifts?
Yes—select a heavy‑duty pultruded panel rated for the axle load and use closer support spacing per the supplier’s chart.
Q3. Are stainless clips mandatory?
In most corrosive or wet environments, stainless‑steel or FRP clips are recommended to match the grating’s corrosion profile and prevent dissimilar‑metal issues.
Q4. What lead time should we expect on custom‑cut panels?
Factory pre‑cut kits from manufacturers like Unicomposite typically ship within 3–4 weeks once drawings are approved.
Q5. How do I safely cut FRP in the field?
Use a carbide‑grit blade, fit a vacuum shroud to capture dust, and seal the cut edge with resin to keep moisture out.


