 info@unicomposite.com


Quick Answer
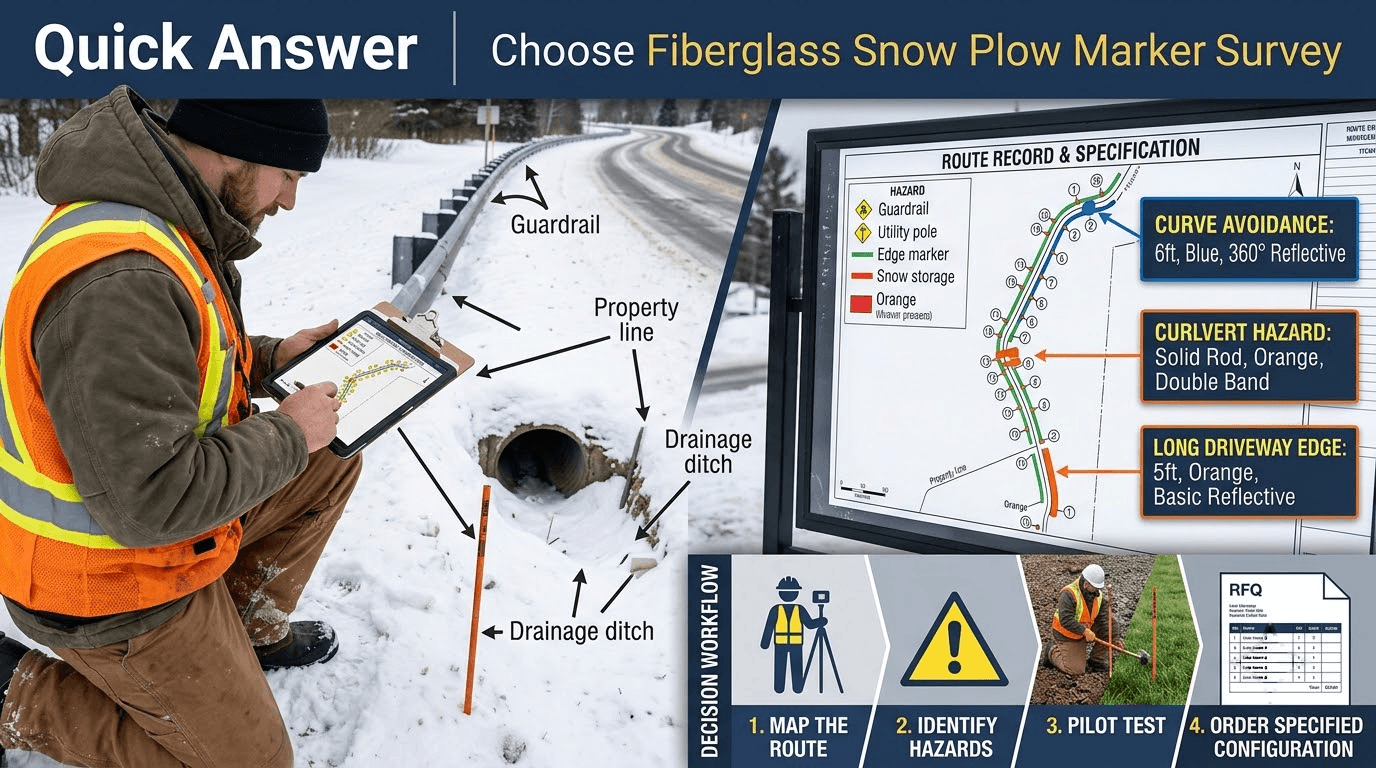
Contractors should select a fiberglass snow plow marker from the route outward, not from a universal “best” list. Record the edges and hazards, expected snow line, driver sight distance, lighting, ground condition, and local roadway requirements. Then define the needed visible height, rod form, color, reflective treatment, end features, and installation method. Pilot the specification on a representative section, inspect it after a storm, and send the same information in the RFQ so suppliers quote comparable configurations.
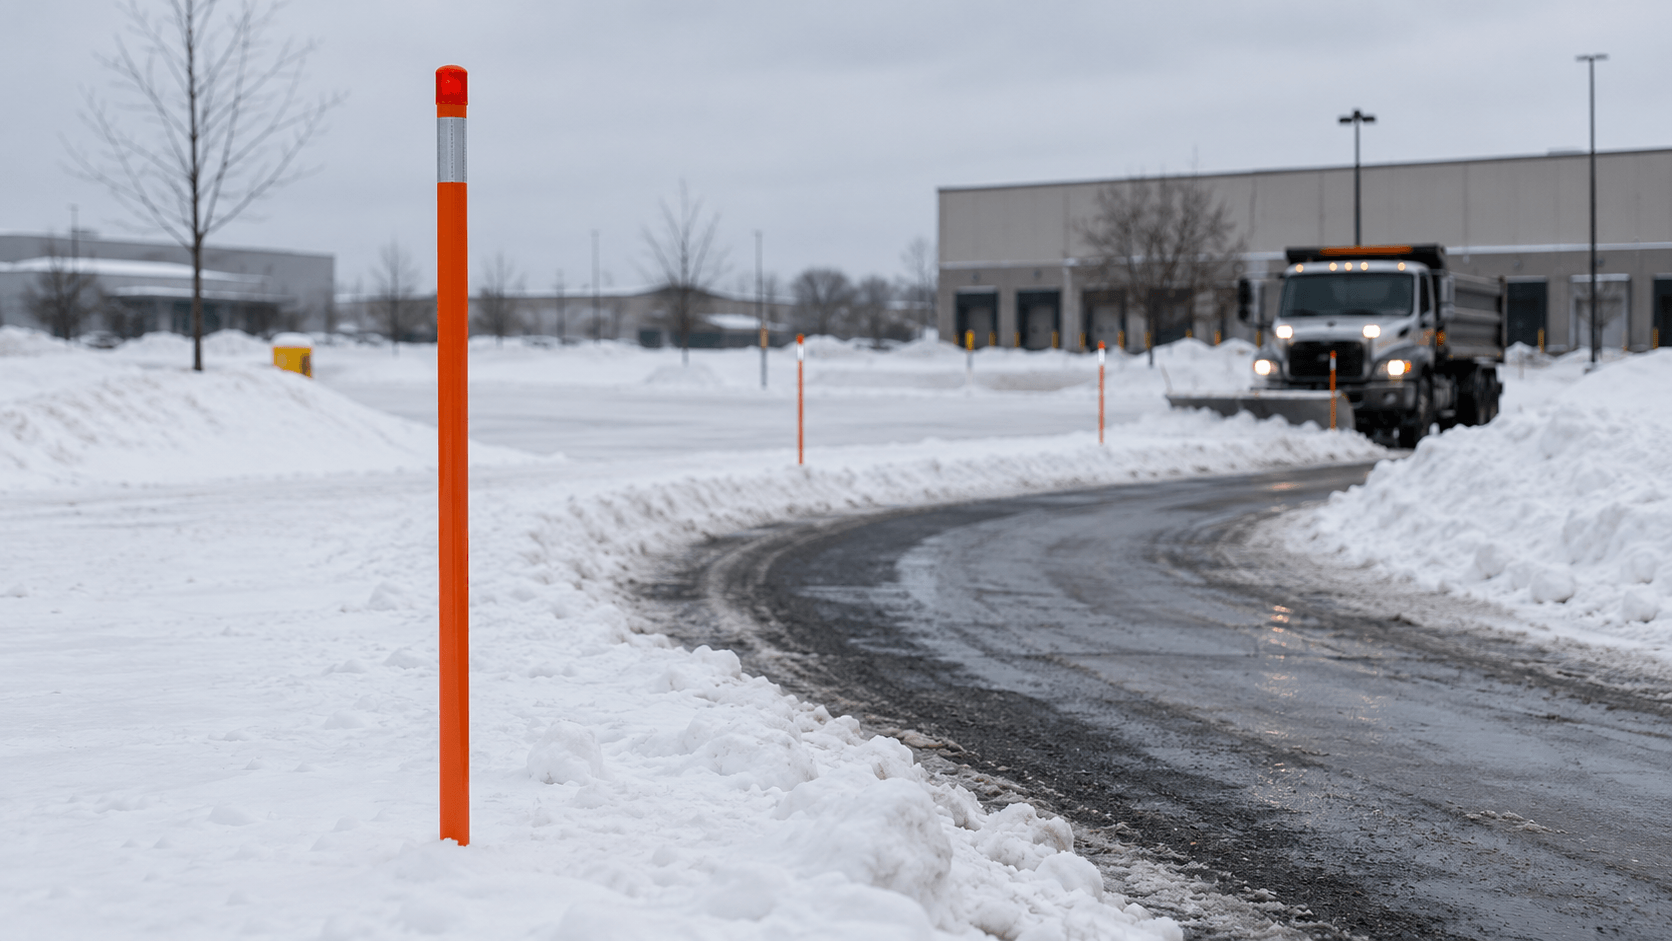
fiberglass snow plow markers
Start with the route, not the product label
The marker’s job is to show a route edge or hidden feature after snow removes the normal visual reference. A contractor marking a private driveway, a distribution-center yard, and a public road shoulder may use similar terminology but face different hazards, permissions, and acceptance rules.
Before choosing a stake, create a route record with the following information:
| Route condition | Record before ordering | Decision output |
|---|---|---|
| Straight driveway or open lot edge | Edge line, access points, snow-storage side, lighting | A basic visibility and placement plan |
| Curves, narrow entrances, or turning areas | Curve direction, driver sight line, turning envelope, nearby landscaping | A closer, more deliberate marker layout at decision points |
| Culverts, drainage edges, guardrails, barriers, or islands | Hazard location, approach direction, offset available, maintenance access | A hazard-specific marker schedule and crew map |
| Snow-drift or high-bank areas | Where the snow line is expected to rise, where plowed snow will be stored, and when the route is serviced | A visible-height requirement and inspection trigger |
| Night, early-morning, or storm work | Headlight direction, ambient lighting, reflective requirement, cleaning access | A color and reflective-treatment requirement |
| Public right-of-way or a site open to public travel | Owner/agency, contract drawings, approved-device list, and local rules | An agency review before the product is released for installation |
This record is more useful than the phrase “heavy duty.” It gives the buyer and supplier the same operating context and makes later replacement decisions traceable.
Translate route conditions into a marker specification
Once the route is documented, convert it into fields that a purchase order or RFQ can control. The specification should describe the complete marker assembly rather than only saying “fiberglass stake.”
Visible height and overall length
Choose length from the expected snow line, insertion method, driver sight line, and the amount of rod that will be below grade. A longer stake is not automatically better: excess exposed length can change handling and impact behavior, while an undersized stake can disappear behind a snowbank.
Ask the supplier to state how the quoted length is measured and how the installed visible height will be checked. Put the result in the route plan rather than copying a generic internet range.
Solid or hollow rod form
Solid rods and hollow tubes can handle differently during transport, insertion, and contact with equipment. The selection should follow the installation method, the site’s handling needs, and the supplier’s documented configuration. If the purchase will be repeated, approve a sample of each rod form and keep the sample reference with the route record.
Color and low-light visibility
Color is a daytime contrast decision; reflective treatment is a headlight-visibility decision. Set them separately in the RFQ. Use one color code consistently for the same route function so a crew can distinguish an edge marker from a hazard or a restricted area.
Reflective tape or a reflective band is useful only while it remains visible, correctly oriented, and above the snow line. Define the required band location and inspection method, and do not assume that a reflective component makes a marker compliant with a public-road standard.
Caps, pointed ends, and handling
End features affect installation and how crews handle bundled markers. Confirm the pointed-end and protective-cap configuration, the approved insertion tool, and the handling instruction before the seasonal rollout. The crew instruction should identify the safe contact point for driving the stake and the condition that triggers removal or replacement.
Installation substrate
Separate soil, turf, gravel, asphalt edges, and concrete-adjacent locations in the route map. The same marker and the same tool may not be appropriate for every substrate. A small pilot section lets the crew verify insertion, alignment, visible height, and clearance before the full quantity is installed.
Use roadway guidance as a boundary, not as a product claim
The Federal Highway Administration’s current Manual on Uniform Traffic Control Devices (MUTCD) applies to traffic-control devices on public streets, highways, pedestrian and bicycle facilities, and site roadways open to public travel. It describes delineators as guidance devices and sets requirements for retroreflective elements and crashworthy supports; it does not turn every private snow stake into a MUTCD delineator. Review the applicable agency plan before using a driveway marker in public right-of-way work. [1]
State and agency practice can be more specific. For example, the Arizona Department of Transportation’s 2025 snowplow-marker process assigns different green marker types to curb, barrier, vertical-hazard, and extreme-drift conditions and gives an agency-specific pavement-edge offset range. That document is an example of a local maintenance standard, not a nationwide spacing or product specification. Use the governing owner’s drawings and approval process for the route you are servicing. [2]
Texas DOT likewise separates delineators and object markers by roadway feature and directs crews to install and maintain them under the agency’s traffic-operations standards. The practical lesson for a contractor is to identify whether the purchase is a private-site marking package or a traffic-control device package before comparing products. [3]
Validate the specification before full installation
Selection is not complete until the proposed assembly works on a representative part of the route. Keep the validation loop short and document the result; detailed installation methods belong in our snow stake installation guide.
- Walk and map the route before the first major storm. Mark edges, hazards, access points, snow-storage zones, and any locations where the owner’s drawing controls.
- Clear the excavation risk. Before driving stakes into the ground, call 811 or submit the state one-call request. The U.S. Department of Transportation’s Pipeline and Hazardous Materials Safety Administration states that every dig requires a call, including small projects. [4]
- Pilot the assembly. Use the intended marker, tool, and substrate on a representative section. Record alignment, visible height, reflective-band orientation, and any interference with plows, vehicles, pedestrians, or drainage.
- Verify operator visibility. Have the responsible operator review the route in the lighting and approach conditions that matter for the job. Record the accepted configuration and any location-specific change.
- Observe after a material event. Log markers that are missing, leaning, buried, dirty, cracked, or displaced, then update the route instruction before the next service pass.
The output is an approved route-specific configuration and a crew instruction—not a universal installation number. This keeps the selection page focused on validation while the installation page handles tools, ground preparation, placement, and seasonal storage.
choose fiberglass snow plow marker survey
Compare fiberglass with alternatives using the same decision record
The useful question is not whether one material wins in every route. It is whether the complete assembly meets the route’s visibility, handling, impact, corrosion, replacement, and approval requirements. For a deeper fiberglass-versus-metal analysis, see our Fiberglass vs. Metal Driveway Markers comparison.
| Material option | When it may fit | What the contractor must verify |
|---|---|---|
| Fiberglass | Projects evaluating a nonmetallic marker assembly with defined rod geometry, surface, and installation requirements | Exact rod form, dimensions, end features, reflective configuration, installation method, and any available test evidence for the intended route |
| Plastic | Projects considering a polymer marker where low-temperature behavior and replacement logistics can be verified | Cold-weather handling, geometry, bending or breakage observations, expected replacement rate, and disposal plan |
| Metal | Routes where the owner or agency specifies a metallic marker or support configuration | Corrosion exposure, equipment-contact risk, grounding or utility context, and agency approval |
| Wood | Temporary marking applications where the section, visibility, moisture exposure, and replacement approach are acceptable | Moisture and splinter condition, visibility retention, safe handling, and removal plan |
Treat “flexible,” “heavy duty,” and “long life” as questions to verify, not as purchase specifications. Request the supplier’s construction description and any evidence that matches the route’s temperature, exposure, and contact conditions.
Make the RFQ comparable
Send one complete package to every shortlisted supplier. The following checklist produces a usable comparison record:
| RFQ field | Include in the request | Acceptance output |
|---|---|---|
| Application | Private driveway, commercial lot, industrial yard, municipal route, or other | Correct use and approval path |
| Route map | Edges, curves, hazards, drainage, barriers, islands, and snow-storage areas | Marked-up plan for placement and review |
| Snow and visibility profile | Expected snow line, drift areas, sight distance, lighting, and night-work needs | Visible-height and reflective-treatment requirement |
| Installation condition | Soil, turf, gravel, asphalt edge, or other substrate; approved tool | Pilot-installation method |
| Marker construction | Length, solid or hollow form, diameter if the owner specifies one, pointed end, cap, and reflective treatment | Comparable line-item quotation and sample check |
| Color coding | Color by route function and any owner requirement | Route legend and receiving check |
| Quantity and replenishment | Initial quantity, spare policy, seasonal replacement process | Order quantity and replenishment plan |
| Packaging and identification | Bundle/carton format, labels, and route or SKU identifiers | Receiving and crew-sorting record |
| Quality and acceptance | Sample approval, visual checks, dimensional checks where specified, and nonconformance process | Signed acceptance record |
| Delivery planning | Destination, required arrival window, and shipping documents | Procurement schedule without assuming a lead-time promise |
The checklist also exposes missing information. If the owner has not defined a number or acceptance limit, record the open decision and assign it to the owner, engineer, or purchasing lead before issuing a binding order.
Match the route record to available marker options
We offer Fiberglass Driveway Markers for driveway marking, snow removal, land and survey marking, walkway or crowd control, and landscaping applications. Our Fiberglass Driveway Marker range includes orange, green, and blue color options, 4-, 5-, 6-, and 8-ft lengths, solid rods or hollow tubes, a pointed end, a protective cap, and reflective tape. Select the configuration from the route record and the owner’s requirements rather than treating any single combination as universal.
Pre-award acceptance checklist
Before releasing a seasonal order, the contractor and owner can sign off these items:
- The route map identifies edges, hazards, snow-storage zones, and public/private responsibility.
- The selected length and installation method produce the required visible height in the pilot area.
- Color coding and reflective treatment match the route legend and night-work requirement.
- Rod form, pointed end, cap, and packaging match the purchase line items.
- The crew instruction shows the installation method, site-specific spacing rule, and inspection triggers.
- The post-storm inspection log identifies who replaces missing or damaged markers.
- Any public-road use has been reviewed against the governing agency’s plan and device requirements.
Conclusion: choose the route-specific configuration, then verify it
Fiberglass snow plow markers are a practical candidate when a winter route needs visible, repeatable boundary guidance, but the correct choice still depends on snow exposure, sight distance, substrate, equipment movement, local rules, and the owner’s acceptance criteria. A route record, pilot installation, storm inspection, and complete RFQ turn those variables into a defensible purchase decision.
To discuss a project, explore our Fiberglass Driveway Markers. Send us the route map, application, expected snow and visibility conditions, installation substrate, required lengths and rod forms, color and reflective requirements, quantity, packaging, destination, and acceptance criteria. We will use those inputs to define the quotation scope and identify any product or document questions that need resolution before the order moves forward.
References
- Federal Highway Administration — Manual on Uniform Traffic Control Devices (MUTCD), current 11th Edition and Revision 1
- Arizona Department of Transportation — TGP 0501 Snowplow Markers (December 2025)
- Texas Department of Transportation — Delineators and Object Markers
- U.S. Department of Transportation PHMSA — Call Before You Dig


