Introduction
Outdoor recreation reached a record 175.8 million U.S. participants in 2023, and camping remains one of the top growth activities.With more nights under canvas, split fiberglass tent poles are an increasingly common frustration—patent literature even calls pole breakage “one of the most common failures” in modern tents.This guide shows you exactly how to fix a split fiberglass tent pole using seven quick DIY methods so you can keep your shelter standing and your trip on track.

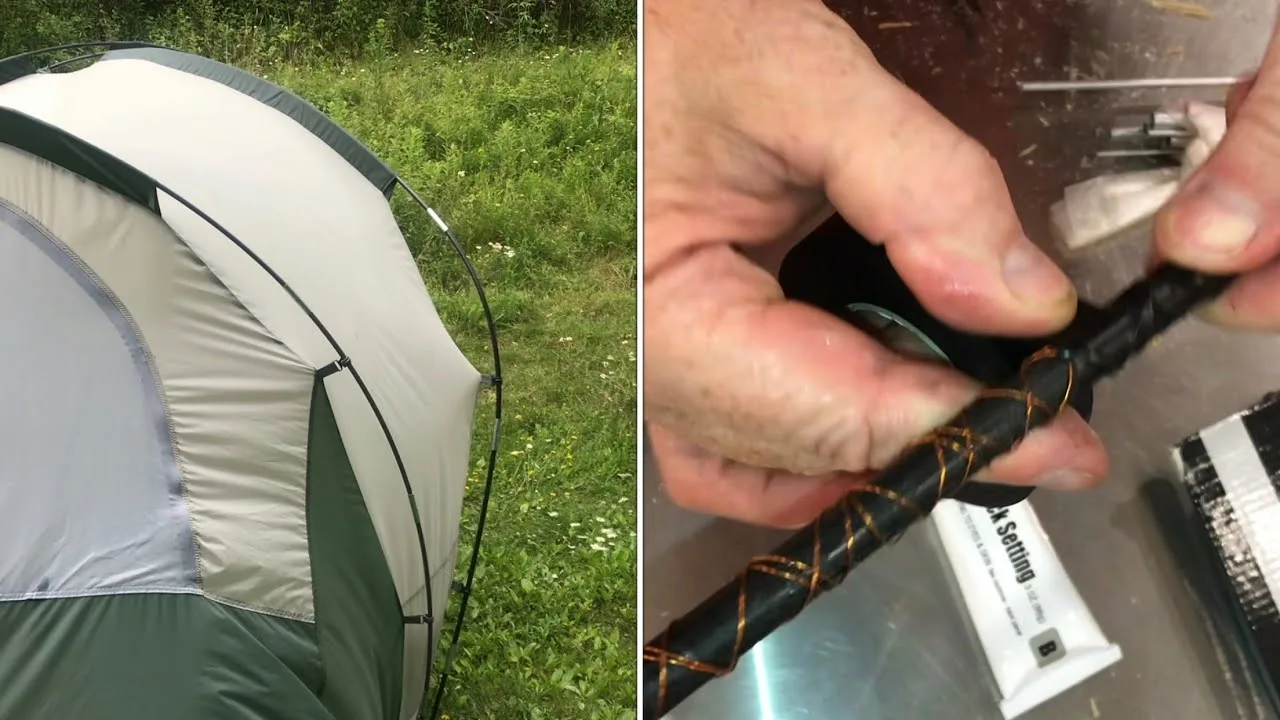
how to fix a split fiberglass tent pole
Assess the Damage
Identify the split type
Hairline crack: fine split, pole still mostly rigid.
Partial split: fibers separated on one side, pole flexes unevenly.
Complete break: pole in two pieces, shock cord exposed.
Knowing the severity helps choose the right repair.
Gather repair materials
A basic pole-repair kit weighs under 120 g and can fit in the stake bag. Recommended items:
Aluminum or steel repair sleeve (splint)
Two-foot length of heat-shrink tubing (¾ in./18 mm diameter)
Two hose clamps (worm-drive)
10 cm wooden dowel that fits inside the pole
Two-part epoxy (5-minute) & 5 × 15 cm fiberglass cloth strip
Utility knife & fine sandpaper
Duct tape
Method 1: Use a pole repair sleeve
“The easiest and quickest way to fix a broken pole is with a pole repair sleeve.” — REI Expert Advice
Slide the sleeve over the pole until it centers on the split.
Wrap each end with 10–12 cm of duct tape to stop sliding.
Re-pitch the tent, orienting the repaired section toward the fly so inward pressure holds the sleeve tight.
Best for: hairline or partial splits; field repair in < 2 minutes.
Method 2: Epoxy and fiberglass cloth wrap
Rough-sand 2 cm either side of the split.
Mix epoxy; saturate a 5 × 15 cm fiberglass strip.
Wrap the strip in a spiral around the crack, overlapping 50 %.
Rotate the pole until the epoxy sets (about 5 minutes).
Light-sand for smoothness once cured.
Best for: permanent home repair; restores up to 90 % of original strength.
Method 3: Heat-shrink tubing reinforcement
Cut tubing 4 cm longer than the crack.
Center over damage and heat evenly with a camp-stove flame or hair dryer until snug.
For added strength, spiral duct tape on top.
Best for: quick campsite fix when you forgot a sleeve; adds moderate rigidity.
Method 4: Splint with a spare pole section
If you carry an extra section (many brands sell singles):
Remove shock cord knot to free the spare.
Insert the spare inside the broken tube like an internal dowel.
Align segments and tape ends firmly.
Best for: complete breaks; maintains original pole diameter so sleeves still slide.
Method 5: Hose clamp and dowel splint
Insert a 10 cm wooden dowel half-way into each broken end.
Push the halves together.
Tighten a worm-drive hose clamp directly over the split.
Best for: high-wind conditions where maximum compressive strength is needed.
Method 6: Field duct-tape wrap
Align the split so fibers meet.
Wrap 10–12 tight layers of duct tape over a 6 cm zone.
Add a second 4 cm tape collar 1 cm beyond the first for shear resistance.
Best for: emergency fix when nothing else is available; check every 24 h.
Method 7: Replace the broken segment
When fibers are pulverized or the pole fails repeatedly:
Measure diameter and length of the damaged segment.
Order a matching fiberglass section or universal repair kit.
Unthread the shock cord, swap segments, and retie with a stopper knot.
Custom shops such as TentPole Technologies can cut exact lengths if you email dimensions.
Preventive maintenance tips
Rotate poles annually so stress isn’t always on the same ferrules.
Dry your tent before storage; moisture degrades resin.
Lubricate ferrules with a silicone-based wipe to minimize micro-cracks.
Carry a sleeve: it weighs less than a power bar but can save a trip.
Conclusion & Next Steps
Knowing how to fix a split fiberglass tent pole turns a potential trip-ender into a five-minute pit-stop. Whether you use a simple repair sleeve, an epoxy wrap, or a full segment replacement, these seven DIY methods keep your shelter reliable and your adventures on schedule. If you found this guide useful, share it with your camping group, drop your own repair tips in the comments, and subscribe to our newsletter for more trail-tested gear hacks!
 info@unicomposite.com


