 info@unicomposite.com



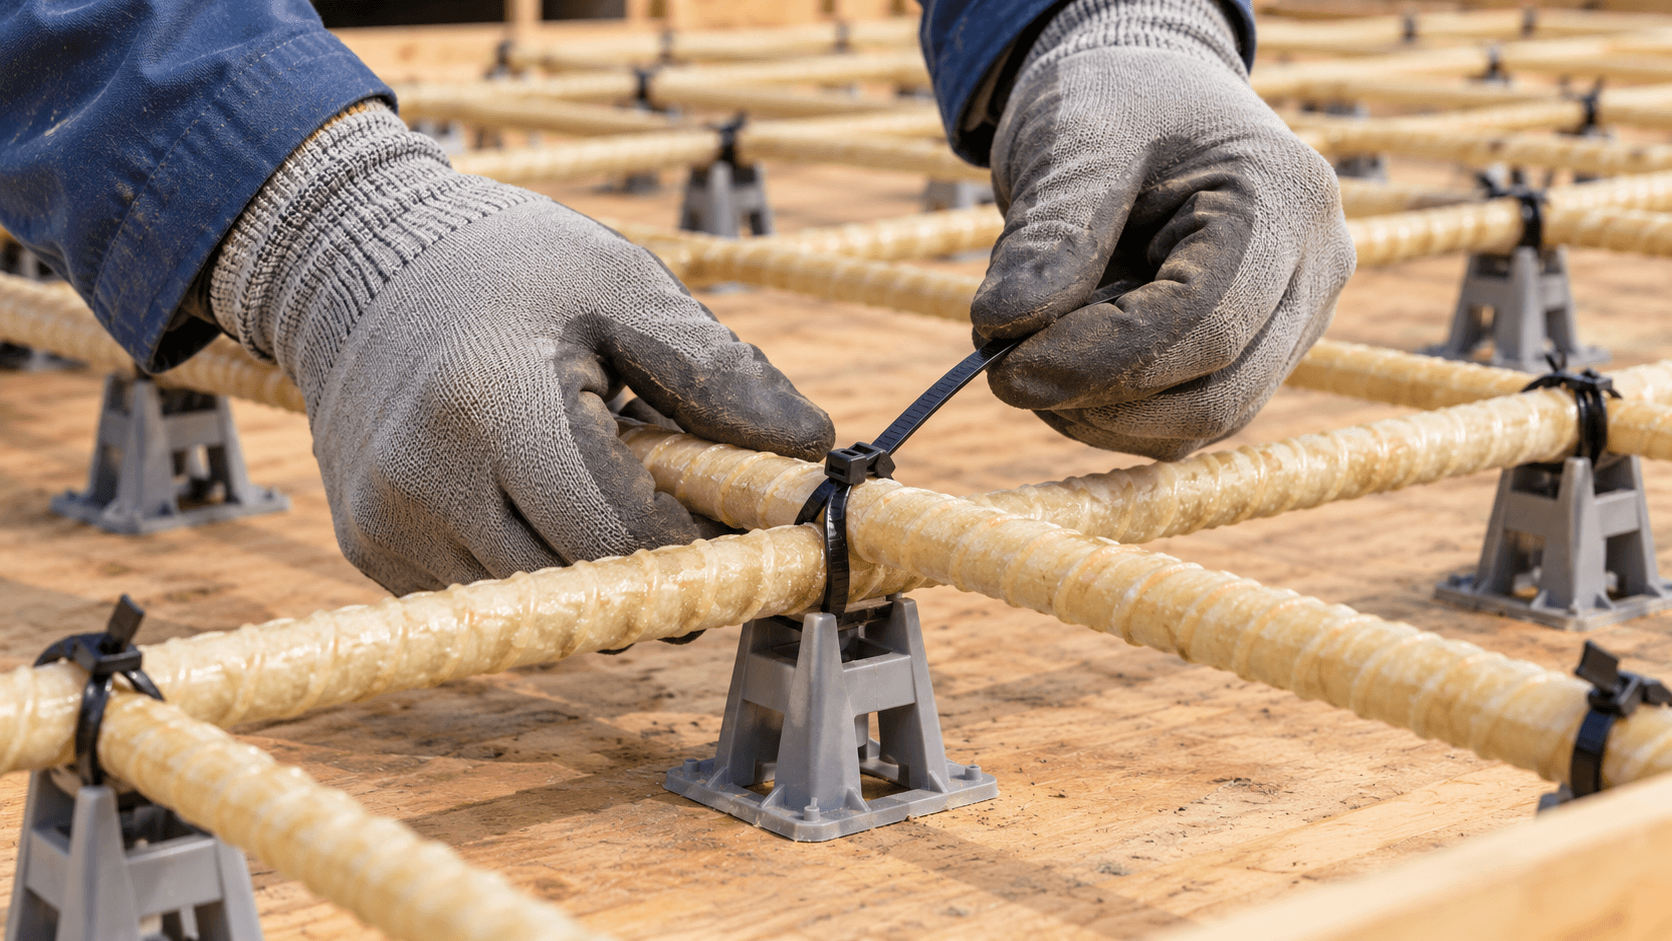
Tie fiberglass rebar by first positioning the bars on their specified supports, then fastening the required intersections with project-approved ties or clips. The finished assembly must hold its spacing, alignment, and concrete cover without damage to the bars. Choose the tie material and fastening pattern for the project—not simply the wire or tool used on the last steel-rebar job.
We put this guide together to explain the general tying process. It is not a Unicomposite product installation manual: the project drawings, construction specification, and instructions for the actual bars and fasteners govern the work.
how to tie fiberglass rebar
What tying does—and what it does not do
Ties keep glass fiber-reinforced polymer (GFRP) bars in position while reinforcement is assembled and concrete is placed. A tight wire connection does not, by itself, create a structural splice or establish a lap length. For those details, see our guide to fiberglass rebar connections and lap splices.
The practical target is secure, undamaged reinforcement. Schöck’s Combar instructions call for protection from impact and abrasion and for securing the bars before concrete placement. [3]
Choose the tie material before starting
Fiberglass rebar ties can include plastic or nylon ties, coated wire, and compatible proprietary clips. These are options to check against the project documents—not interchangeable approvals for every GFRP product.
| Fastener option | What to check before use |
|---|---|
| Plastic or nylon tie | Confirm the specified type and suitability for the bar intersection and installation conditions. Do not assume any general-purpose cable tie is acceptable. |
| Polymer-coated tie wire | Confirm that coated metal wire is permitted. Its coating does not make the fastener metal-free. |
| Proprietary plastic clip | Match the clip to the bar sizes and crossing arrangement identified by its manufacturer. |
| Stainless or uncoated metal wire | Use only where the bar instructions and project requirements allow it; check corrosion and electromagnetic restrictions. |
Manufacturer instructions illustrate why the distinction matters. MST-BAR lists several tie options and permits uncoated wire only where corrosion and electromagnetic concerns do not apply. Schöck’s Combar handling instructions allow wire or cable ties and identify size-specific plastic clips. Neither document approves those choices for a different manufacturer’s bars. [2, 3]
FDOT’s July 2017 amendment listed self-locking plastic straps and plastic-coated pliable steel wire as FRP tying options. This is a historical specification example; the documents adopted for the project determine what is permitted. [1]
If the reinforcement system must be entirely nonmetallic, a coated steel tie still contains steel. Confirm the permitted ties and supports rather than checking the bars alone.
How to tie fiberglass rebar step by step
1. Check the layout and the materials
Have the approved placing drawing, bar schedule, tie requirements, and product instructions at the work area. Check bar identification and condition before assembly. Set aside unidentified or visibly damaged bars for disposition under the project’s inspection procedure; do not conceal a defect beneath a tie. Bar identity, defects, placement, and cover are all topics in ACI’s GFRP reinforcing-bar inspector guidance. [4]
Check for surface contamination prohibited by the bar instructions. Address it using the specified procedure before tying makes the affected area difficult to inspect. Schöck’s Combar instructions, for example, require its bars to be kept free of oil, grease, and other contaminants that could affect bond. [3]
Have the specified ties, suitable tying tools, and required supports ready. Use the task-specific personal protection required by the site and product instructions. Schöck’s handling instructions, for example, call for gloves when handling its reinforcing bars. [3]
2. Position and support the bars
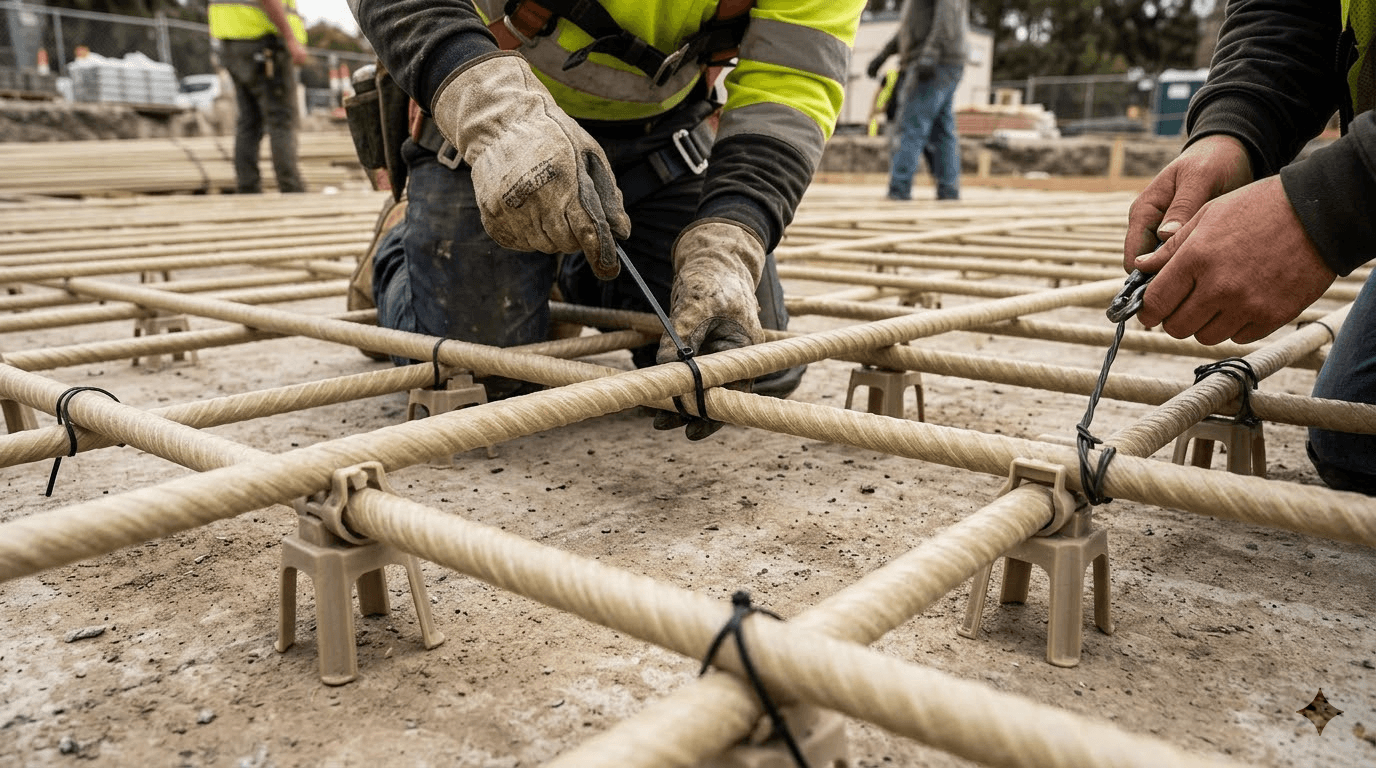
Arrange the bars in the specified direction and spacing. Install the approved chairs or spacers to establish the required elevation and cover before fixing the intersections.
A tie joins bars; it does not set the distance between the reinforcement and the concrete surface. Check the support layout as well as the ties. Do not use a tighter tie to pull an incorrectly positioned bar into place or to compensate for an unstable support.
3. Fasten each required intersection
For an approved manually applied wire tie, pass the wire around the crossing bars using the specified tie configuration, bring the ends together, and twist them with the appropriate hand tool until the intersection is restrained. Keep the tool from striking or scraping the bar.
For a powered tying tool, follow the instructions for the permitted bar, wire, and tool combination.
For an approved self-locking tie, loop it around the intersection and engage the locking head according to its instructions. For a proprietary clip, follow the manufacturer’s fitting sequence and bar-size limits. These are different fastening systems; do not improvise one system’s installation method for another. [2, 3]
4. Check restraint without damaging the bar
The aim is a secure connection, not the maximum possible twist or tension. Inspect the contact area for cutting, gouging, or other visible damage. If the intersection remains loose, check the fastener, its arrangement, and the supports instead of continuing to tighten blindly.
Finish wire ends or tie tails as required by the selected system and site procedure, leaving no exposed snag or puncture hazard and maintaining the required clearance from formwork and adjacent materials. Do not use a tying tool to notch the bar or bend it into alignment.
5. Check the assembled mat or cage
Recheck spacing, alignment, cover, support stability, and the required fastening locations. Correct displaced bars and damaged or ineffective fasteners before concrete conceals them. Use the project’s inspection and acceptance process rather than treating a completed tying operation as automatic permission to pour. [4]
fiberglass rebar ties
Do you need to tie every intersection?
Check the applicable construction specification, placing details, or approved assembly procedure for the required tie pattern. Do not assume that an alternating pattern is always sufficient—or that tying every intersection removes the need for proper supports.
Bar spacing and tie frequency are different decisions: the drawing locates the reinforcement; the fastening arrangement keeps it there. If the documents do not identify an adequate tying arrangement, obtain clarification from the responsible project team before proceeding. A generic online pattern cannot resolve the requirements for an unfamiliar cage, lifted assembly, or placement operation.
Plan for movement during concrete placement
GFRP reinforcement needs restraint during the pour, not just a neat appearance beforehand. An ACI-hosted presentation by TUF-N-LITE identifies possible upward movement in high-slump concrete or during vibration and calls for ties or fasteners where needed. [5]
Check how the approved support and restraint arrangement controls both position and upward movement. Tying adjacent bars together does not necessarily anchor the entire mat. Where tie-downs or additional restraint are specified, install them as detailed; do not invent anchors into formwork or membranes.
If bars or supports move during placement, address the affected area through the agreed site procedure before it is concealed. Do not rely on pressing reinforcement back by eye after losing its reference position.
Before-pour tying checklist
- Bar identities and locations match the approved documents.
- Surface condition and cleanliness meet the applicable product and project requirements.
- Tie materials and clips match the permitted system.
- Required intersections are secured without visible damage.
- Supports maintain the specified cover, spacing, and elevation.
- Required restraints against movement are in place.
- Loose ties, protruding ends, displaced bars, and unresolved defects have been addressed.
- The required inspection has been completed.
This checklist is an assembly check, not a substitute for the project’s acceptance criteria. ACI’s inspector guidance separately addresses bar verification, defects, cover tolerances, and placement compliance. [4]
Discuss your FRP rebar requirements
Our FRP rebar is made from glass fiber and resin for concrete reinforcement. For a product inquiry, send us the project application, bar schedule or required sizes and lengths, quantity, and destination through the product-page inquiry form. Keep the project’s tie, support, and installation requirements with those details.
References
- Florida Department of Transportation, July 2017 amendment to Section 415, Reinforcing for Concrete, Section 415-5.3.2, PDF page 1. Historical example of FRP tying materials; use the specification adopted for the project.
- MST Rebar, MST-BAR Handling, tying options and limitations for MST-BAR.
- Schöck, Handling and Safety Instructions for Combar, March 2018, Sections II.1–3 and III.1. Product-specific instructions.
- American Concrete Institute, GFRP Reinforcing Bar Inspector Certification Policy and Job Task Analysis, September 2024, Annex 632.1-1. An inspection-competency outline, not the full construction specification.
- Josh Hanje, TUF-N-LITE, Real World Considerations & Project Highlights, ACI-hosted presentation, slide 6, “Tying & Installation.”


