 info@unicomposite.com


Winter plowing damage often begins long before the first storm. A curb gets buried. A drainage edge disappears. A loading lane looks wider than it really is. Once snow covers the ground, plow operators must rely on whatever visual references were installed before winter arrived.
Driveway markers and snow stakes give those operators a clear boundary system. They help mark pavement edges, curbs, drains, culverts, fire lanes, landscaped areas, loading zones, and entrances before snow and low light conditions make them hard to see.
This guide explains how to install driveway markers and snow stakes correctly, when to install them, how far apart to place them, and what B2B buyers should check before ordering fiberglass snow stakes in bulk.
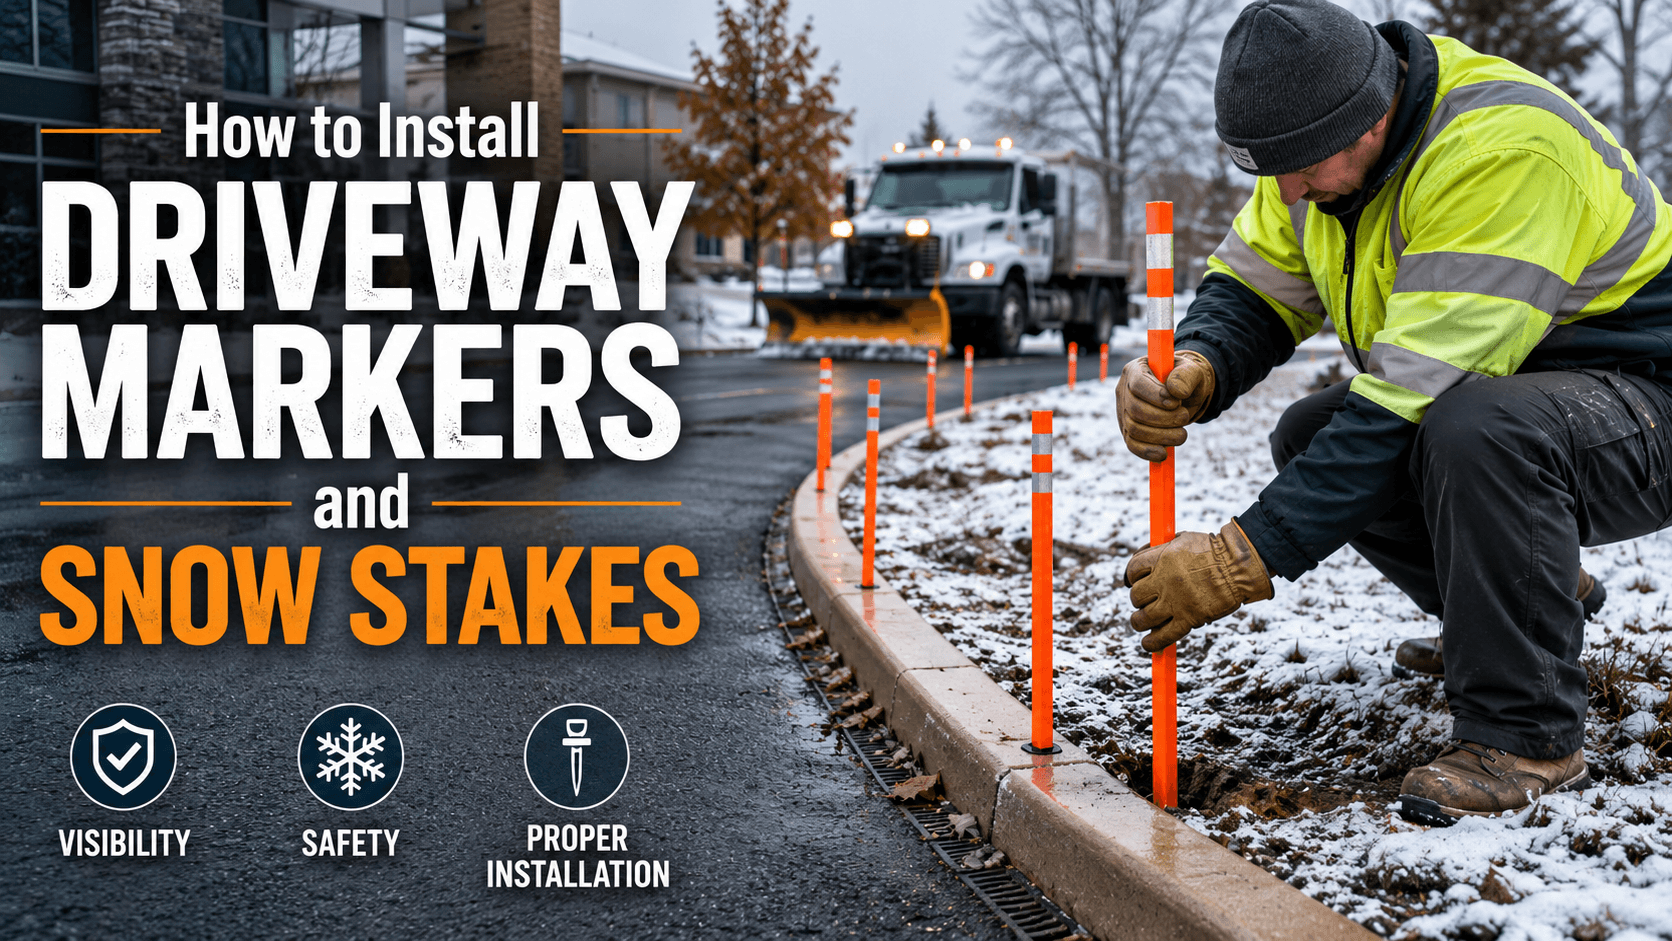
how to install driveway markers
Quick Answer: When Should You Install Driveway Markers?
The best time to install driveway markers is before the ground freezes and before regular snowfall begins. In many North American regions, early to mid fall is the practical target. October is often a workable month because many properties are already preparing for winter, while the soil is still soft enough for clean installation.
Timing should match local conditions. A site in a heavy snowbelt may need earlier preparation than a property in a milder region. Soil type, frost timing, and plowing schedule all affect the final installation window.
What is the best month to install snow stakes?
For many North American properties, October is the best month to install snow stakes because the ground usually remains workable and winter planning has already started. Colder regions may require earlier installation. Milder regions can install later, though waiting increases the risk of frozen soil and limited product availability.
Some snow removal contractors wait until the first 2 to 6 inches of snow before placing stakes on certain high profile accounts. That approach can help experienced crews see early snow behavior, but it also creates scheduling pressure and inventory risk.
For most property managers, distributors, and contractors, installing before winter pressure builds is the safer procurement and operations decision.
What Are Driveway Markers and Snow Stakes Used For?
Driveway markers and snow stakes create visible reference points where snow may hide edges, hazards, or traffic boundaries. A fiberglass snow stake commonly ranges from 36 to 72 inches in height, with bright colors and reflective tape improving visibility in low light.
For a residential driveway, the goal may be simple edge guidance. For a commercial property, the stakes support safer plowing around curbs, traffic islands, fire lanes, pedestrian zones, storm drains, and loading areas.
The table below helps match common applications with placement priorities:
| Use Case | Typical Placement Area | Main Purpose |
|---|---|---|
| Residential driveway | Edges, entrance, curves | Guide vehicles and small plows |
| Commercial parking lot | Curbs, islands, drains, fire lanes | Reduce curb and pavement edge damage |
| Hospital or school | Entrances, walkways, emergency access | Keep critical routes visible |
| Warehouse or loading yard | Dock lanes, truck routes, pavement edges | Support heavy vehicle movement |
| Municipal facility | Shoulders, culverts, roadside hazards | Mark hidden boundaries for crews |
For B2B buyers, the use case should guide the specification. A homeowner may need a small bundle. A contractor or distributor may need thousands of fiberglass snow stakes with consistent length, diameter, color, reflective tape, pointed tips, and packaging.
Once you define what the markers need to protect, installation becomes easier to standardize.
How to Install Driveway Markers Step by Step
Correct installation starts with a site walk before snow hides the layout. You should identify pavement edges, curbs, drains, culverts, utility covers, fire lanes, landscaped zones, and tight turning points before placing the first stake.
Use a repeatable process so every marker supports the same visual logic.
- Walk the full site.
Mark all edges, hidden hazards, entrances, curves, drop offs, drains, islands, and plow turn zones. - Choose the marker line.
Place stakes just outside the plowing boundary so operators can see the edge without driving over the marker line. - Insert each stake vertically.
Push the pointed end into the ground until the stake stands firm. In compacted soil, use a pilot hole tool to reduce bending or tip damage. - Face reflective tape toward traffic or plow direction.
For two way lanes or commercial entrances, consider visibility from both approach directions. - Add extra stakes at risk points.
Curves, islands, drains, loading docks, hydrants, and entrances need closer placement than straight sections.
How deep should driveway markers go into the ground?
Driveway markers should go deep enough to stay upright during wind, snow buildup, and routine plowing activity. Several inches of ground penetration often works as a practical starting point, but soil firmness, frost depth, stake length, and plow exposure should guide the final depth.
Avoid shallow placement. Leaning stakes create confusing visual signals and may get hit by vehicles or plow blades. If the ground is hard, use a narrow pilot hole rather than forcing the stake and risking damage.
For commercial sites, use a simple inspection checklist: edge marked, hazard marked, reflective tape visible, spacing consistent, and stake vertical.
Recommended Spacing for Snow Stakes
Spacing turns individual markers into a usable visual path. Straight sections can use wider spacing, while curves, entrances, drains, parking islands, and high risk areas need tighter spacing.
The ranges below are practical planning references. Adjust them based on snow depth, soil condition, traffic flow, plow equipment, visibility, and site risk.
| Area Type | Suggested Spacing | Placement Priority |
|---|---|---|
| Straight residential driveway | 10 to 20 ft | Keep the edge visible |
| Curved driveway section | 5 to 10 ft | Show turning radius clearly |
| Commercial parking lot curb | 6 to 12 ft | Reduce curb and island damage |
| Entrance or exit lane | 5 to 10 ft | Improve operator visibility |
| Drain, culvert, or drop off | Add markers on both sides | Highlight hidden hazards |
How far apart should snow stakes be placed?
Snow stakes should be closer together where turning accuracy and hazard visibility matter most. Straight runs can use wider spacing, while curves, entrances, curbs, islands, drains, and loading areas need tighter spacing. Many projects start with 10 to 20 feet on straight sections and reduce spacing near risks.
Snow depth also affects spacing and height selection. If snowbanks grow through the season, short markers may lose visibility after repeated plowing. In those environments, taller stakes and closer placement near risk areas create better visual continuity.
Once spacing defines the layout, product selection determines how well the markers perform through the season.
Why Fiberglass Snow Stakes Work Well for Winter Marking
Fiberglass snow stakes are widely used because they offer a strong balance of visibility, flexibility, corrosion resistance, and seasonal reuse. A properly specified fiberglass marker can flex under ordinary contact and remain useful through winter service, depending on the stake design and loading conditions.
For procurement teams, repeatability matters. Buyers often need the same length, color, diameter, reflective tape style, and packaging across multiple properties or resale orders.
Unicomposite Technology Co., Ltd, based in Nanjing, China, manufactures FRP and GRP composite products using processes such as pultrusion, pulwinding, SMC and BMC molding, hand lay up, and vacuum infusion. For fiberglass snow stakes, pultrusion is especially relevant because it supports continuous glass fiber reinforcement and consistent cross sections.
Use the specification table below as a practical starting point when preparing an RFQ or purchase order:
| Specification | Common Option | Buyer Benefit |
|---|---|---|
| Material | Pultruded fiberglass | Flexible, corrosion resistant, reusable |
| Length | 36, 48, 60, or 72 in | Match snow depth and visibility needs |
| Color | Orange, yellow, red, or custom | Improve visibility and standardization |
| Reflective tape | Single or double band | Support night and storm visibility |
| Tip design | Pointed end | Speed up ground installation |
| Packaging | Bulk cartons or custom packing | Improve storage, resale, and distribution |
Fiberglass also works well for buyers who want a clean seasonal product line. It does not rust, handles moisture exposure, and can be specified for consistent bulk supply.
Common Mistakes When Installing Driveway Markers
Most installation problems come from rushing the work or applying the same layout to every property. A straight driveway, a hospital emergency route, and a truck loading yard do not need the same stake pattern.
The first mistake is installing too late. Once the ground freezes, crews may struggle to insert stakes cleanly. That often leads to shallow placement, leaning markers, or damaged tips.
The second mistake is placing stakes too far from the actual plowing boundary. If they sit too far outside the edge, turf and curbs remain exposed. If they sit inside the active path, vehicles and plows may hit them repeatedly.
The third mistake is using stakes that are too short for the snow environment. A 36 inch marker may work in light snow areas, while heavy snow regions and commercial accounts often need taller stakes to remain visible above snowbanks.
In one anonymized contractor scenario, a crew marking a commercial parking lot reduced repeat curb and landscape damage by tightening stake spacing around islands, entrances, and drains instead of placing every marker at the same interval. The extra markers went where plow decisions were hardest.
Placement quality often delivers more value than marker quantity.
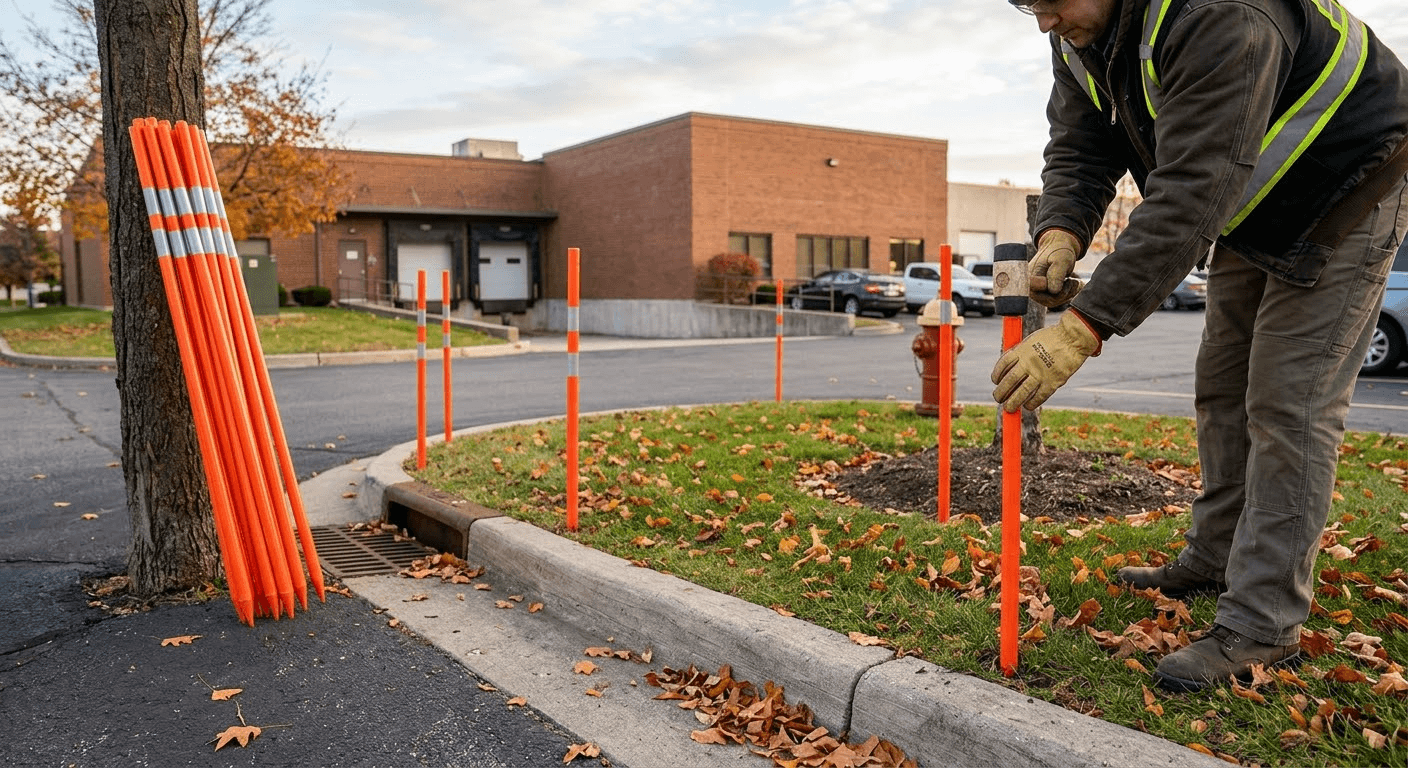
how to install driveway markers and snow stakes
Choosing Fiberglass Snow Stakes for Bulk Projects
Bulk buyers should specify snow stakes around site conditions, storage needs, installation speed, visibility, and replacement expectations. A snow removal contractor may prioritize fast installation and low breakage. A distributor may prioritize SKU consistency, carton packing, color options, and repeat supply.
Start with length. Expected snowbank height, plow route visibility, and storage space should all influence the decision. Taller stakes improve visibility in deeper snow, while shorter stakes can fit lighter duty applications and reduce storage volume.
Then review diameter and flexibility. A stake should stay visible and upright, while still offering enough flex for ordinary winter contact. Reflective tape also deserves attention because night plowing is common on commercial sites. In two direction traffic areas, buyers may need reflective visibility from more than one approach angle.
What should B2B buyers check before ordering snow stakes in bulk?
B2B buyers should confirm material, length, diameter, color, reflective tape, tip design, packaging, lead time, and customization options before ordering snow stakes in bulk. They should also match the specification to snow depth, site layout, plow method, traffic flow, and storage requirements.
Seasonal availability matters too. Snow stake demand rises before winter, and late buyers may have fewer choices in color, length, reflective tape, and packaging. Earlier sourcing gives procurement teams more control.
For contractors, distributors, and operations buyers, Unicomposite can support custom fiberglass snow stake requirements such as length, diameter, color, reflective bands, pointed tips, and bulk packaging for seasonal supply programs.
Final Takeaways
Driveway markers and snow stakes work best when you treat them as part of a winter operations plan.
Install them before the ground freezes, often in early to mid fall for many North American regions. Mark edges, curves, drains, islands, entrances, loading zones, and other hidden hazards before snow covers the site. Use tighter spacing near risk areas and wider spacing only on clear straight sections. Choose fiberglass snow stakes based on length, diameter, visibility, reflective tape, tip design, packaging, and bulk supply needs.
For bulk winter marking projects, fiberglass snow stakes give buyers a practical mix of visibility, flexibility, corrosion resistance, and seasonal reuse.
[Contact Unicomposite for a custom fiberglass snow stake quote →]


